


A shed door protects your tools, equipment, and supplies from weather damage, theft, and animals. However, if you’ve ever built a DIY shed, you’re probably familiar with a common frustration—shed doors tend to sag over time. This not only looks bad; it also affects functionality and security.
The good news? With the right planning, materials, and techniques, you can build a shed door that stands the test of time. This article will walk you through how to build a sag-resistant shed door from scratch. Read on!
What Happens When a Shed Door Sags?
Before diving into the build process, it’s worth understanding why sagging is such a problem. A sagging door isn’t just a cosmetic issue—it impacts performance in multiple ways.
1. Stuck or Jammed Doors
A sagging door often becomes misaligned with its frame. This can make opening and closing the shed door difficult, or even impossible over time. You may find yourself forcing the door or having to lift it just to latch it properly.
2. Weakened Security
Once a door starts to sag, gaps appear between the door and the frame. These gaps can be exploited by intruders or animals trying to get inside. In some cases, a sagging door might not close completely, leaving your shed vulnerable.
3. Poor Weatherproofing
Sagging disrupts the tight fit between the door and the opening, allowing rain, wind, and debris to enter. Water intrusion not only damages what’s inside the shed but also accelerates wood rot and structural weakening.

Step-by-Step: How to Build a Sag-Free Shed Door
Here’s a detailed guide to building a shed door right:
#1 Measure the Door Opening Correctly
An uneven or poorly measured opening can force the door to carry weight unevenly, leading to stress and sagging over time.
Measure the shed door opening at multiple points to ensure it’s square. The door should be about ¼ inch smaller than the opening in both width and height to allow it to swing freely and accommodate wood expansion.
#2 Choose the Right Materials
Use exterior-grade, pressure-treated lumber or cedar for both the frame and cladding. These materials resist moisture, insects, and warping better than untreated or indoor wood. For the panel, consider T1-11 plywood or tongue-and-groove boards rated for outdoor use.
#3 Build a Solid Door Frame
Build a rectangular frame using 2x4s or 2x3s. Lay them flat and screw them together using pocket-hole screws or galvanized wood screws. Use a square to ensure all corners are at 90 degrees. Double-check for square by measuring diagonally from corner to corner; both measurements should be equal.
#4 Add Z-Bracing or a Diagonal Brace
This step is critical to resist sagging. A diagonal brace—often referred to as a “Z” or “barn-style” brace—transfers the weight of the door to the hinge side, countering gravitational pull.
The diagonal should run from the bottom of the latch side to the top of the hinge side. Cut the brace to fit snugly and attach it securely. Make sure it’s flush with the frame to avoid interfering with the door panel.

#5 Attach the Door Panel
Lay your door frame over the exterior paneling. Align it flush on all sides, and secure it with construction adhesive and galvanized screws. Be sure to screw into the frame beneath for added strength. Trim off any excess panel material if needed.
#6 Sand and Seal the Door
Sand all edges, corners, and surfaces to remove splinters and sharp edges. Apply a wood sealer or exterior paint to protect your new door from the elements. Pay special attention to sealing the top and bottom edges—these are often neglected and prone to absorbing moisture.
#7 Install Hinges Properly
Use at least three heavy-duty, rust-resistant hinges—one near the top, one near the bottom, and one in the middle. This distributes the weight evenly and reduces stress on individual hinge points. Make sure the hinges are aligned properly, and use long, galvanized screws to anchor them into both the door and the shed frame. This helps keep the door from pulling away or drooping over time.
#8 Mount the Door
With assistance (or temporary support), lift the door into place and screw the hinges into the shed wall. Double-check the swing and alignment. The door should open smoothly without dragging or scraping.
#9 Install Handles and Latch
Choose a handle that’s comfortable and durable. For the latch, make sure it aligns correctly with the strike plate and closes firmly.
#10 Install a Door Lock
Install an exterior-grade shed door padlock or locking hasp to deter theft and unauthorized access. Choose weatherproof materials to prevent rust and corrosion over time.
Key Missteps to Avoid When Building a Shed Door
Even a well-intentioned DIY shed door can go sideways if these common mistakes aren’t avoided:
- Using Untreated or Indoor Wood: Indoor wood absorbs moisture and warps easily when exposed to weather. Always choose pressure-treated or rot-resistant lumber.
- Forgetting to Leave Expansion Gaps: Wood expands and contracts with temperature and humidity. If you don’t leave a ¼" gap around the door, it may bind or jam.
- Using Too Few or Undersized Hinges: Lightweight hinges may bend or pull out over time. Opt for heavy-duty exterior hinges, and use at least three to distribute the load.

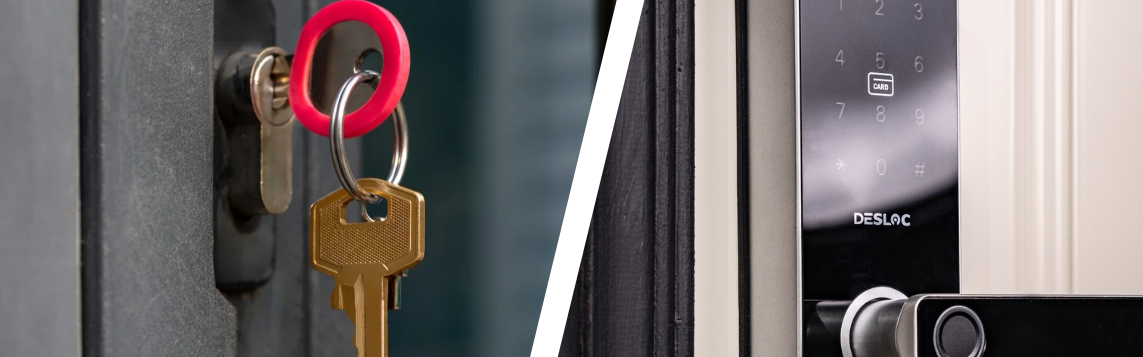
Bonus Tip: Upgrade Your Shed Security with a Smart Lock
If you’re storing valuable equipment in your shed, consider upgrading from a traditional padlock to a smart lock for enhanced security.
At DESLOC, we offer reliable and innovative smart locks. The DESLOC C110 Smart Lock features a user-friendly LockVue display screen and offers three unlocking methods: fingerprint, passcode, or physical key.
Built for outdoor use, this shed door lock has an IP54-rated weather-resistant exterior and is BHMA Grade 3 certified for trusted durability and security.
The auto-locking feature ensures your shed stays secure.
Plus, if multiple people use the shed—like in a community garden or shared workshop—you can grant and revoke access digitally.
Conclusion
A sagging shed door isn’t just inconvenient—it’s a sign that something’s gone wrong in the design or materials. By following the steps above, you can build a shed door that stays square, secure, and stylish for years to come. From measuring and material selection to bracing and hardware installation, every detail counts in keeping your door in top shape.
