

We’ve all been there: wrestling with a squeaky, stubborn interior door that sticks in the frame or won’t close properly no matter how hard you push or pull. Maybe your bathroom door creaks loud enough to wake the entire household, or that aging bedroom door has suffered one too many impacts from kids or pets.
A damaged or outdated door doesn’t just affect the look of a room; it can interfere with privacy, sound control, and daily convenience. If you’ve had enough of dealing with a dysfunctional door, replacing it might be easier than you think.
Why DIY Your Interior Door Replacement?
Before diving into the how-to, let’s talk cost. Hiring a professional to replace an interior door typically runs between $100 and $300, depending on labor rates, the door type, and any custom modifications. That figure doesn’t even include the cost of the new door itself. If you’re looking to reduce the entire home improvement expenses, this is a great place to start.
Step-by-Step Guide to Replacing an Interior Door
Step 1: Measure the Existing Door
Before purchasing a replacement, you need accurate measurements of your current door. Use a tape measure to record the following:
- Height: Measure from the top edge to the bottom edge.
- Width: Measure from one side to the other.
- Thickness: Typically 1⅜ inches for interior doors.
- Hinge Placement: Note the distance from the top of the door to the top and bottom hinges.
Step 2: Remove the Old Door
Start by using a flathead screwdriver and a hammer to remove the hinge pins. Tap the pins upward from the bottom and pull them out. Once the pins are out, lift the door off its hinges.
If you’re replacing a pre-hung door (frame and all), you’ll need to pry off the trim using a pry bar. Carefully cut through any caulk or paint first to avoid damaging surrounding drywall. Then unscrew or cut through the nails holding the door frame in place.
Step 3: Choose a New Door
There are two main options:
- Slab door: Just the door itself—ideal if your existing frame is in good shape.
- Pre-hung door: Comes with a new frame and hinges—best if the frame is damaged or warped.
Also, select a door that matches your interior aesthetic—classic, modern, paneled, flush, or glass-inset. Make sure it matches your measurements or is slightly oversized for trimming if needed.
Step 4: Prepare the New Door
Most slab doors require some trimming to match the existing frame perfectly. Use a circular saw with a straightedge guide for clean cuts. Make minor adjustments slowly—cutting too much can ruin the door.
You may also need to mark and chisel out hinge mortises. Lay the old door on top of the new one and trace the hinge locations. Then use a chisel and hammer to carve out recesses for the hinges.
Step 5: Install Hinges and Hang the Door
Attach the hinges to the door using wood screws. Make sure they’re aligned properly and flush with the surface. Then, with help from a second person or wooden shims under the door for support, line up the hinges with the hinge plates.
Insert the hinge pins to secure the door. Open and close it a few times to ensure it swings freely without rubbing or sticking.
Step 6: Check the Fit and Make Adjustments
If the door rubs or won’t close properly, use a hand plane or sander to carefully trim tight spots—especially along the edges or bottom. Don’t rush this step. Check your progress often and remove only small amounts at a time.
If you installed a pre-hung door, use a level to ensure the frame is square before securing it with screws or nails. Shim the sides as needed, then reinstall the trim around the frame.
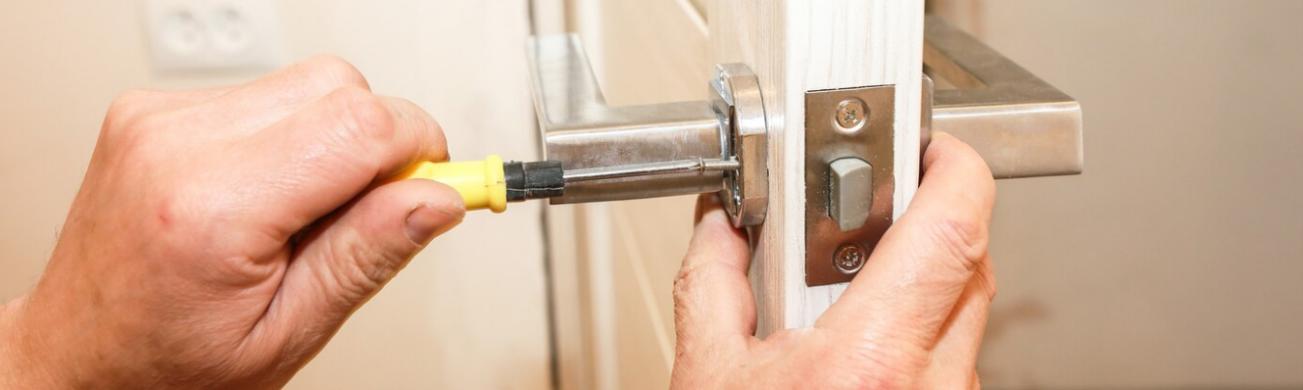
Step 7: Install the Lock or Handle
Use a hole saw or lock installation kit to bore holes for the handle and latch (if your door doesn’t come pre-drilled). Align the latch and strike plate, screw them into place, and test the interior door lock mechanism.
For a modern touch, you might consider installing an interior door smart lock (see tips below).
How to Maximize Your Door Upgrade
Once your new door is hung and functional, why not take it to the next level? Here are a few easy, rewarding upgrades:
1. Replace the Lockset with a Smart Lock
If your door leads to a home office, bedroom, or rental space, upgrading to a fingerprint-enabled smart lock like the DESLOC B200L Smart Lock adds convenience and security. It’s keyless, tamper-resistant, and can be integrated with smart home systems—perfect for modern living.

2. Repaint or Refinish the Door
Unfinished or primed doors allow for custom paint or stain finishes. Match your décor or go bold with a contrasting color. Be sure to sand lightly between coats and use a semi-gloss or satin finish for added durability and easy cleaning.
3. Add Simple Decorations
Small additions like decorative trim, molding, or panel stickers can elevate a plain door’s appearance without much effort or cost. Peel-and-stick moldings offer a quick facelift without tools.
4. Soundproof If Needed
Interior doors often do little to block sound, especially in shared living spaces. Add a door sweep at the bottom, use foam weatherstripping around the frame, or even attach an acoustic panel to the back for better sound isolation.
Conclusion
Replacing an interior door might seem like a job for a contractor, but it’s absolutely within reach for a confident DIYer. With just a few tools and a weekend afternoon, you can swap out that old, squeaky nuisance for a brand-new, functional, and stylish door.
Not only will you save money, but you’ll also gain practical skills and enjoy a more polished, peaceful living space. So the next time you’re staring at a stubborn door that’s outlived its usefulness, remember: a better one is just a few steps away.
